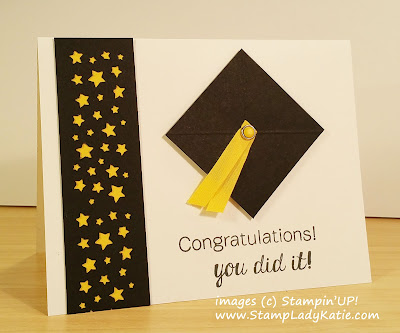
How many graduation cards will you be sending out this year? It seems like graduations come in waves. Birthday's and anniversaries are an annual event so you can plan those cards. Sympathy is usually rare and unexpected so I like to have a few of those cards on hand, ready to go. Weddings you have enough time to plan for. But graduations? In our family at least they seem to come in waves. The last several year's I haven't had any and this year I have 4 graduating nieces and nephews.
This card is easy to adapt to any school colors. And if you suddenly find you need a bunch of them its also easy to mass produce.
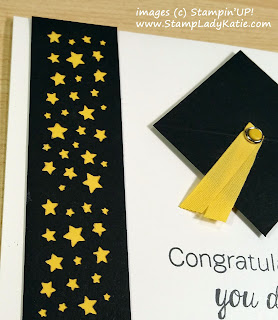
The mortarboard cap is super easy to make, Cut yourself a small square (I think this one was a 2" square) and turn it as shown. Fold a piece of ribbon in half and secure it with a brad through the center of the black square. I adhered mine to the card with a piece of dimensional foam to give the card a little more "pop". For this card I glued a yellow Candy Dot to the top of the brad, but it would look fine with a plain brad too.
The thing that makes this card special - and also helps you customize the colors - is the vertical star piece. You may be thinking that I sure went to a lot of work to glue on all those stars. NO WAY! I used Stampin'UP!'s Confetti Star punch to make all the HOLES in the black piece and then I glued a piece of yellow paper behind the holes.
The Confetti Stars Punch definitely makes it easy to turn out a customized card for a special graduate. In addition to the white paper, black paper, black ink and Dimensionals, here are the other supplies I used.
Thanks for Stopping by: Take a minute and browse previous posts. If you see anything you like I'm happy to
help you get the product or just to consult and explain further how the
project was made . . . its all about having fun with our
hobby.


No comments:
Post a Comment